8 Channel 1080p Vehicle Mobile DVR
8 Channel Vehicle Mobile DVR
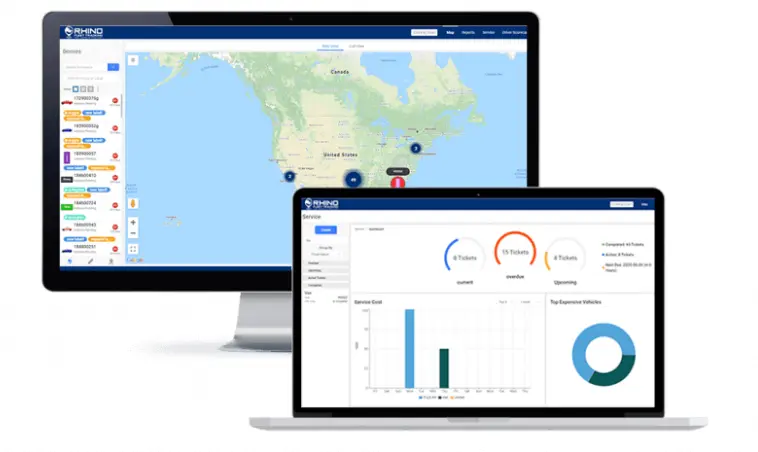
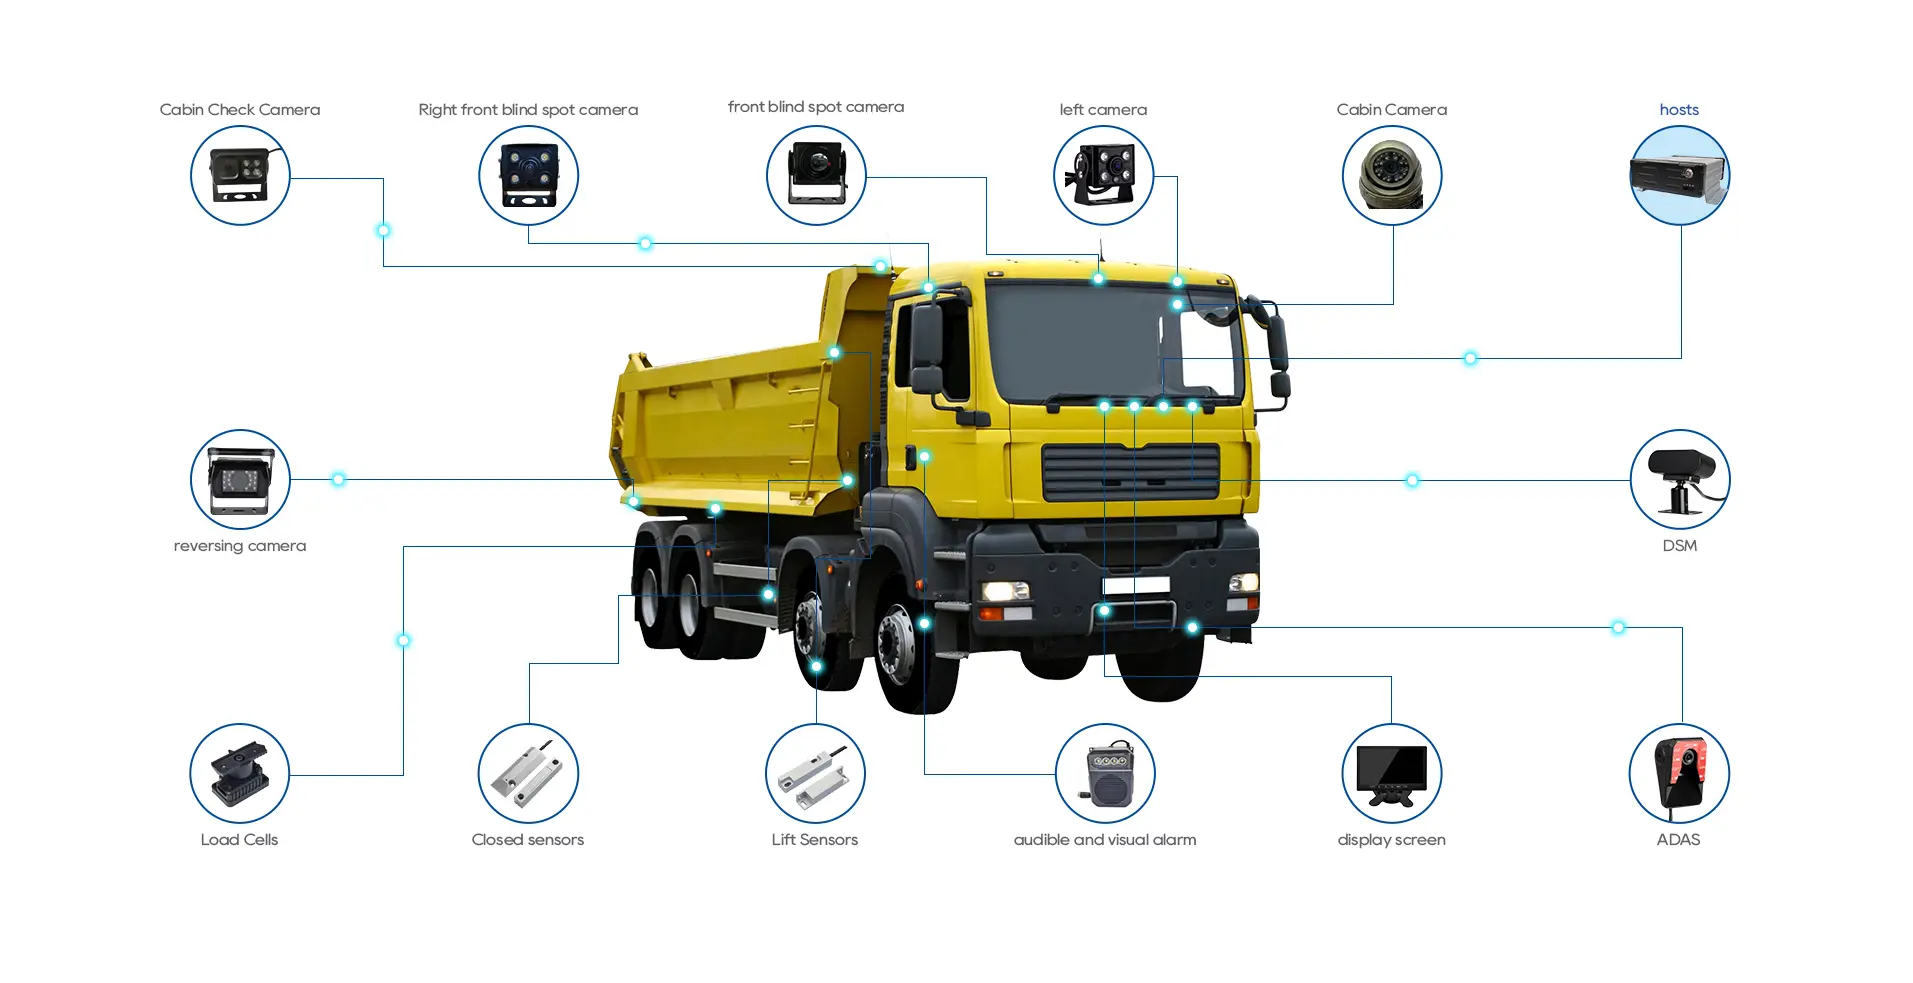
The 8-channel mobile hard disk vehicle recorder supports 3G and 4G networks and is compatible with wide-angle cameras, achieving a true 360° bird's eye view without blind spots. The system also supports automatic calibration, saving installation time and costs. Using BSD algorithms, the intelligent MDVR can detect pedestrians in front, on the sides, and behind the vehicle in real time, preventing accidents caused by blind spots. This driver assistance device is essential for large vehicles like trucks, buses, and construction machinery. Through the PC CMS client, users can clearly query the vehicle's current location and historical driving trajectory maps on the operating system map/Google Maps.
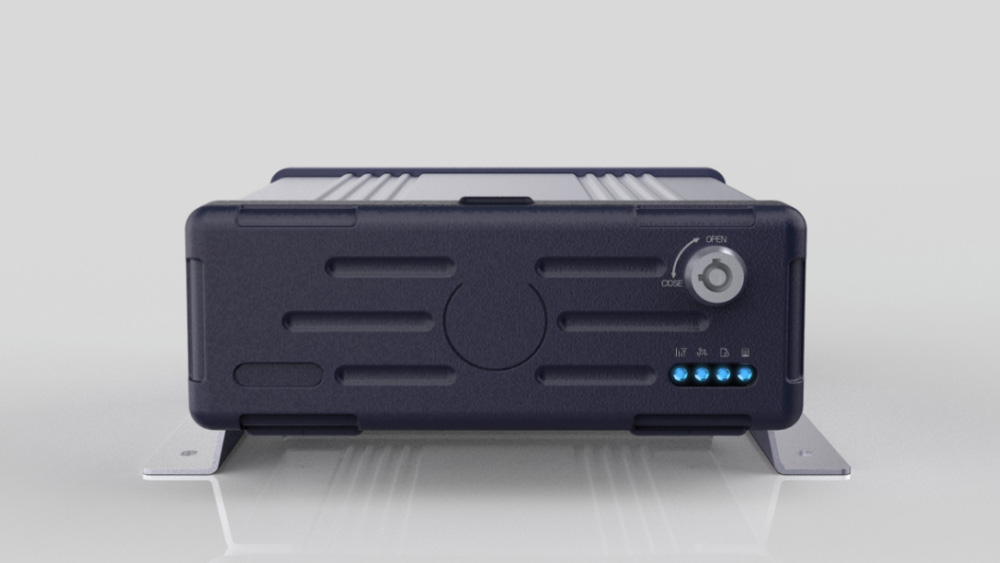
8 Channel HDD/SSD AI Vehicle Recorder
- 8-channel AHD 1080p + 4-channel IPC 1080P input
- Built-in 4G/GPS/Wi-Fi
- 6-axis G sensor
- 8-channel audio input
- AHD 720p output
- 1 x SD card slot, up to 512GB
- 1 x HDD/SSD, up to 4TB
- 6-pin aviation Ethernet port
- 3 x RS232, 1 x RS485
- DMS/ADAS/FR/BSD/360 (optional)
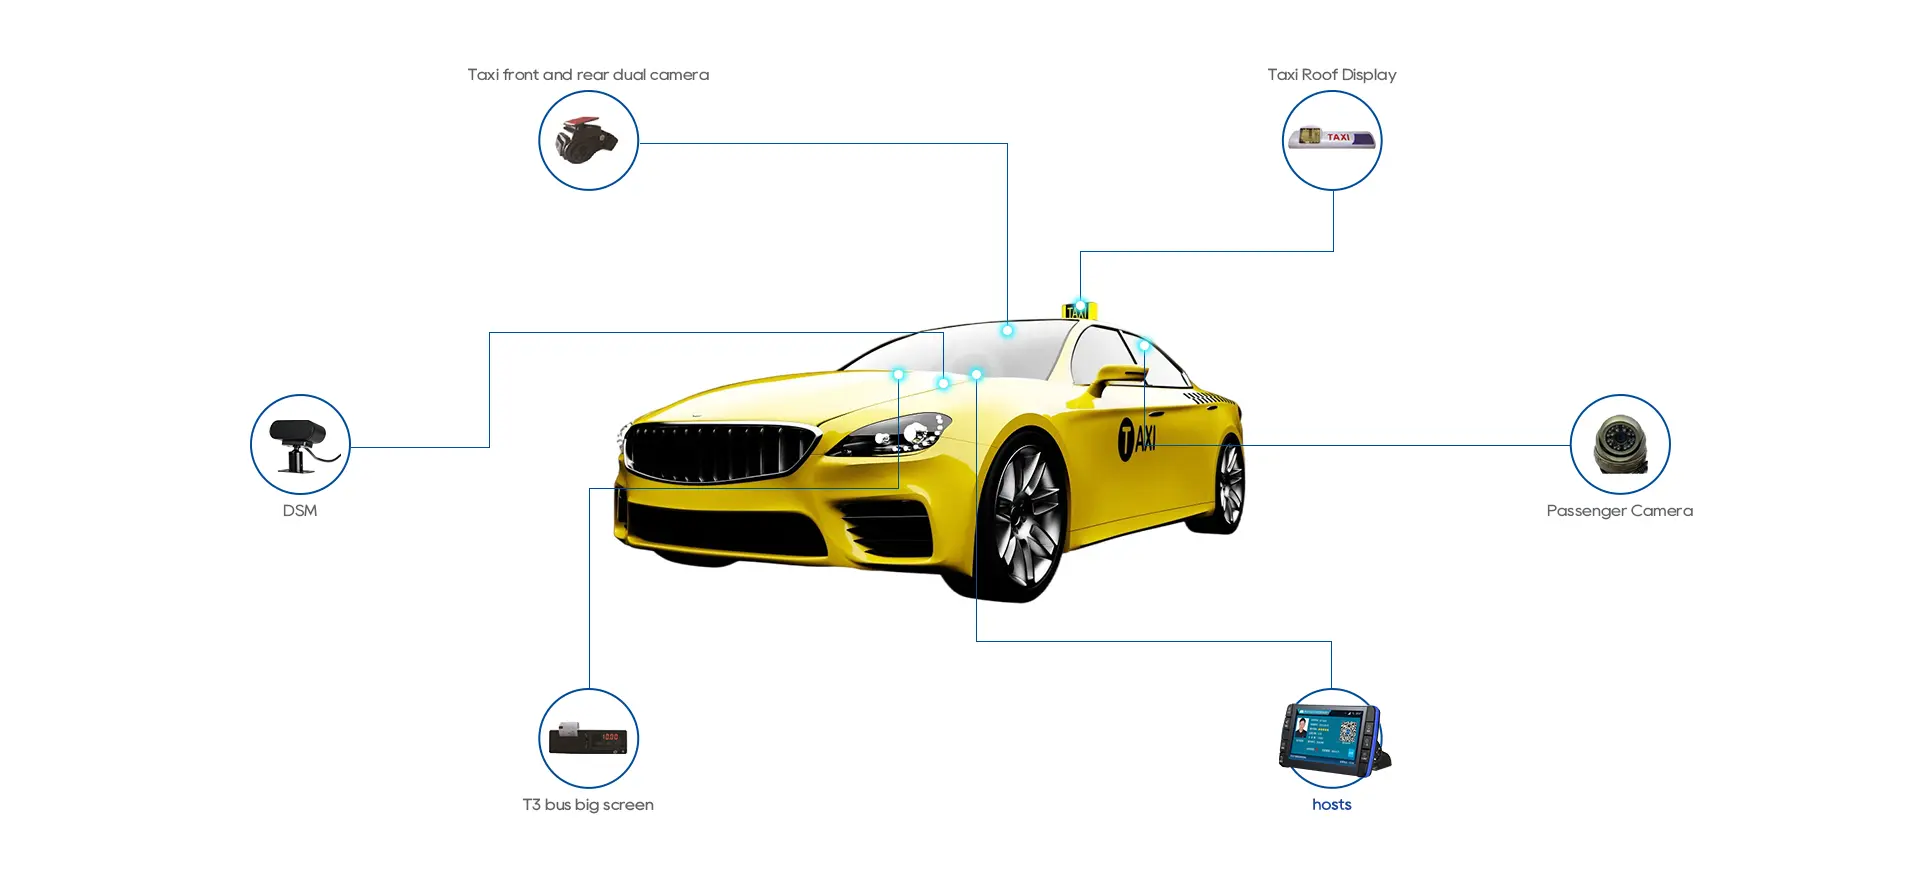
The 8-channel vehicle hard disk recorder uses H.264/H.265 compression technology and supports real-time remote monitoring for smarter and more comprehensive vehicle management! This intelligent MDVR adopts a multi-core processor and a powerful neural network inference engine, integrating ADAS, DMS, BSD, and 360 panoramic algorithms. One MDVR can be combined into various powerful all-in-one systems, realizing a vehicle recorder that integrates ADAS and DMS, a 360 panoramic driver assistance system, or a blind spot detection system, further ensuring safe driving without additional installation, significantly saving costs and installation time!
hnweb_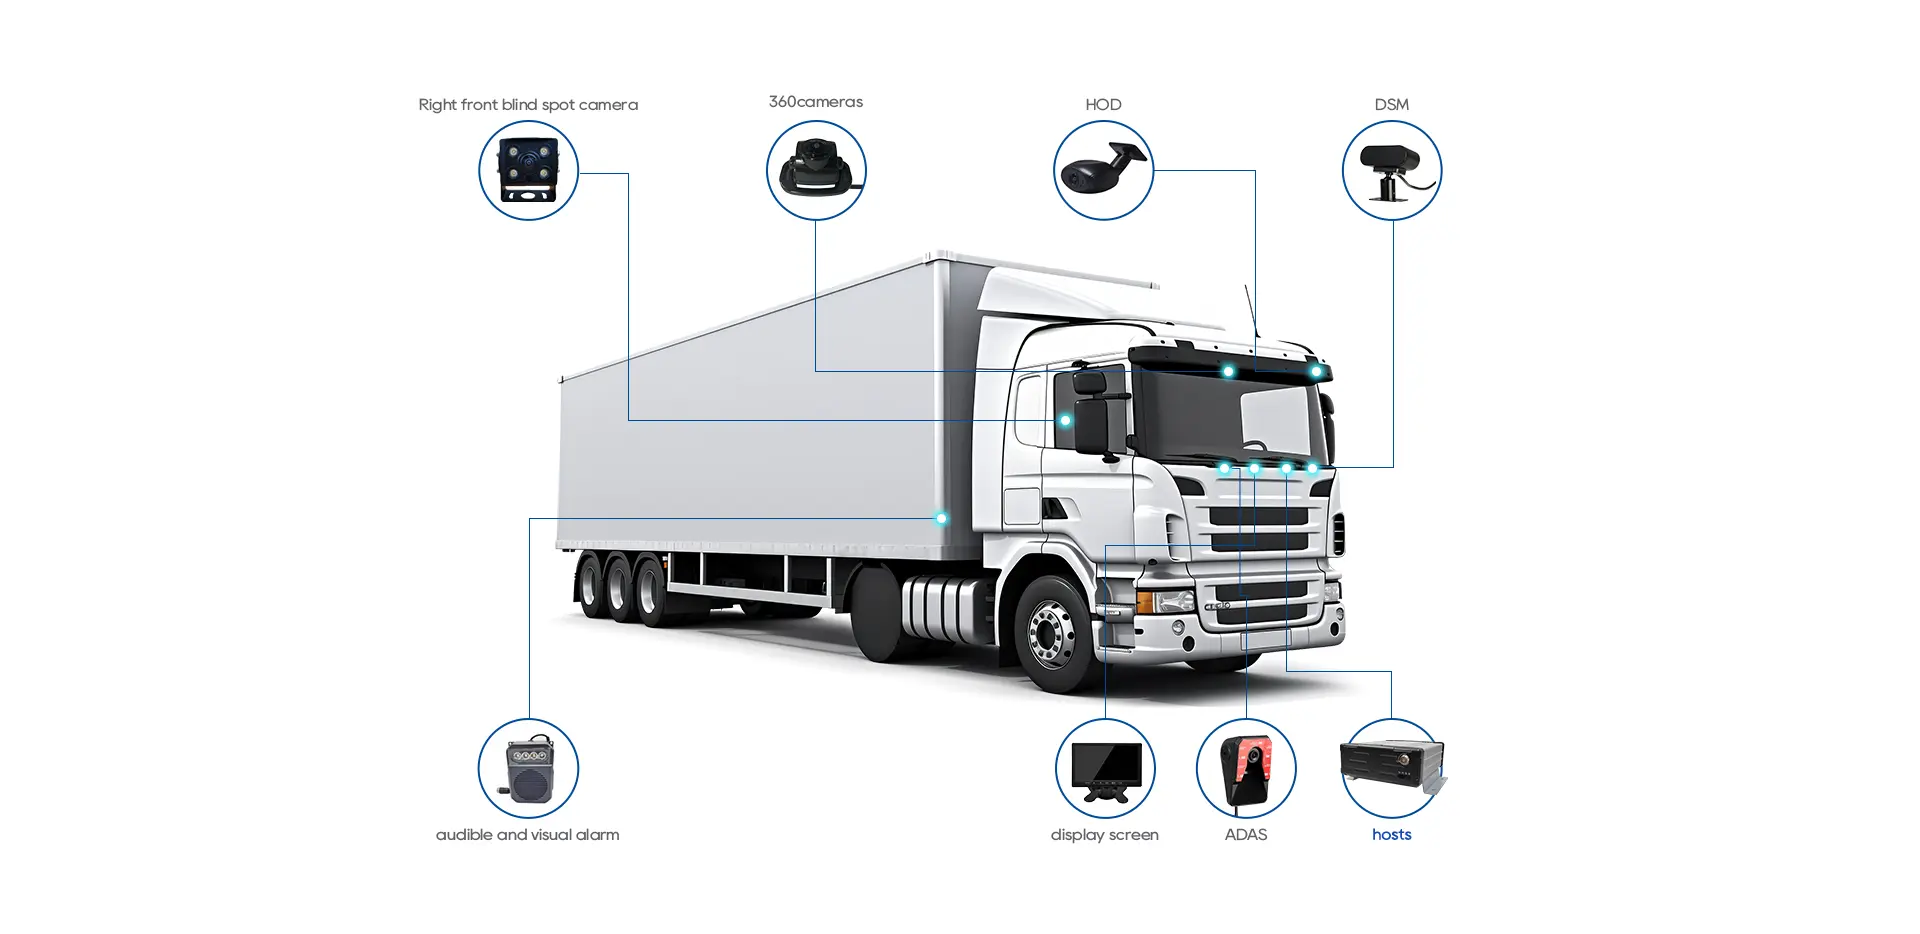
How to Install the Vehicle Hard Disk Recorder?
1. Choose the Right Location for the DVR - This should be a secure, easily accessible spot that is free from moisture and dust.
2. Install the Cameras - Place the cameras strategically around the truck to provide maximum coverage. Ensure the cameras are mounted securely and the cables are properly connected.
3. Lay the Cables - You need to lay the cables for the DVR.
4. Connect the Cables to the DVR - Ensure each camera is connected to the correct input on the DVR.
5. Power Up the System - After connecting the cables to the DVR, you need to start the system. Connect the power cable to the DVR and plug it into the power source.
6. Configure the System - This includes setting up recording settings, motion detection settings, and other system parameters.
7. Test the System - Check each camera to ensure it is recording and the images are clear.


