Multi-Channel Dash Cam for Cars
Multi-Channel Dash Camera for Cars
Advantages of the V8N Multi-Channel Dash Cam
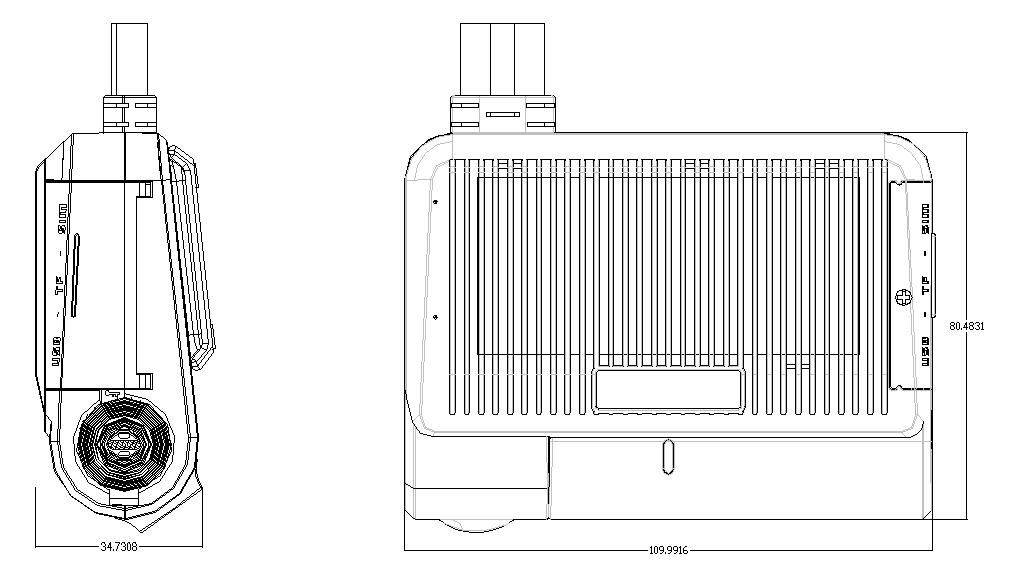
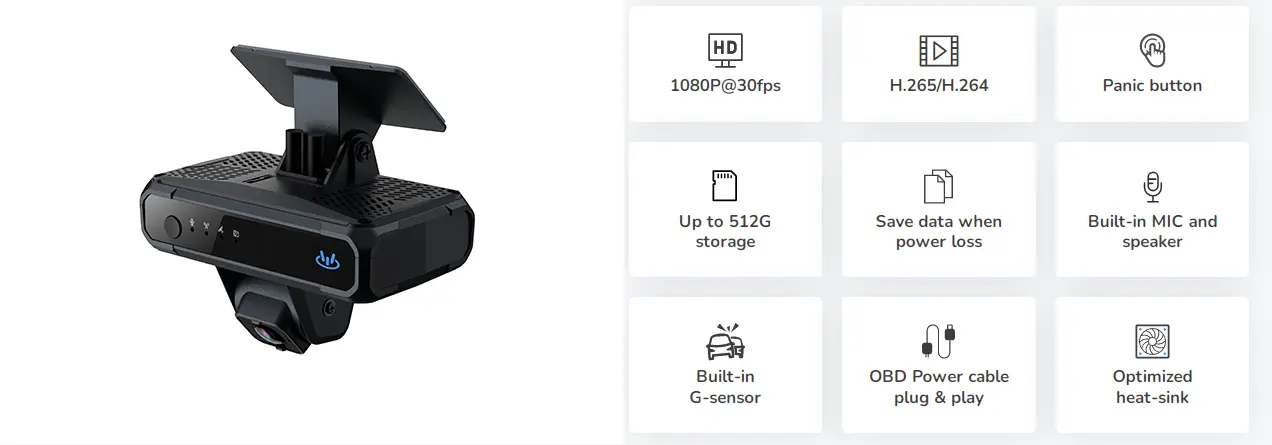
The V8N mini dash cam integrates satellite GPS positioning, 1080P video monitoring, and active safety features, meeting the needs of fleet monitoring, management, driving safety, and driving behavior compliance.
Applicable Industries:
- Ride-sharing cars
- Taxis
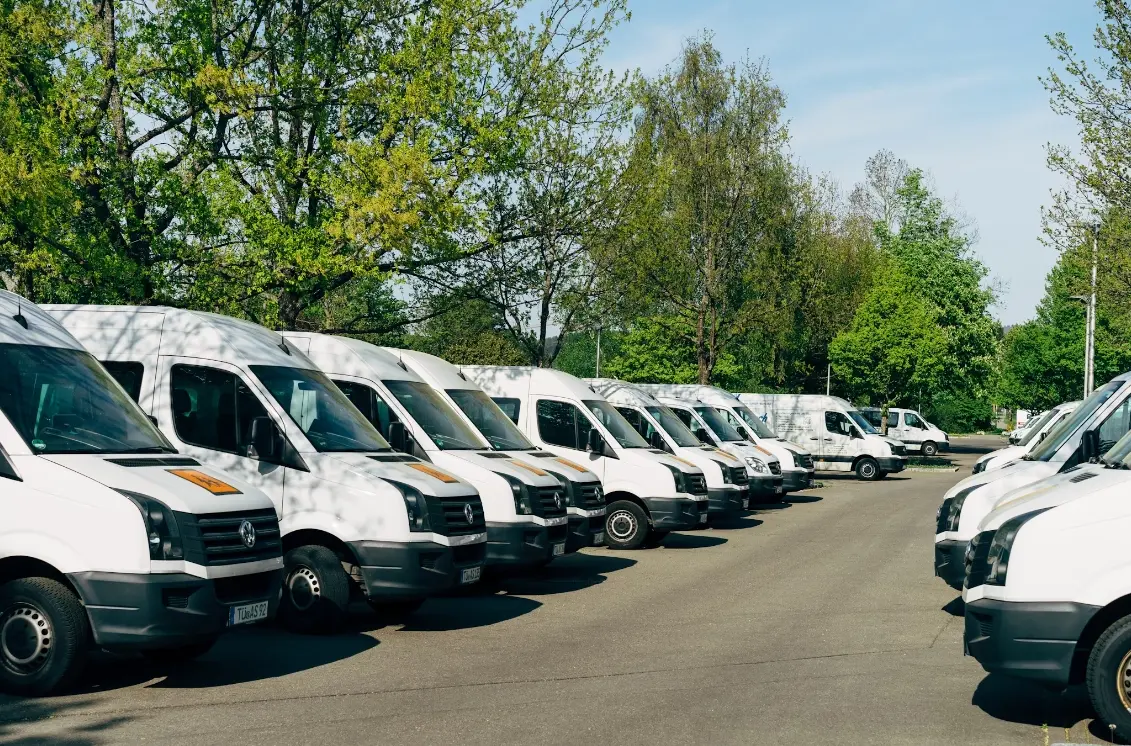
- Logistics fleets
As a core component of modern vehicle safety equipment, dash cams offer features like multi-channel cameras, SOS buttons, and rear cameras, providing enhanced safety and convenience for drivers.
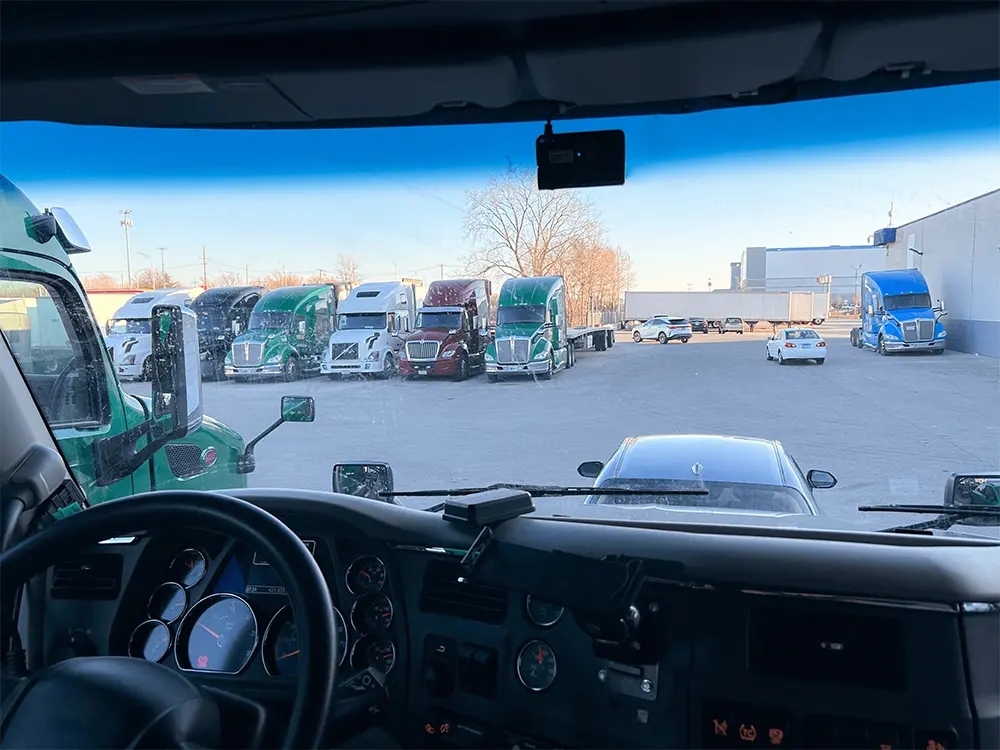
Standard Configuration:
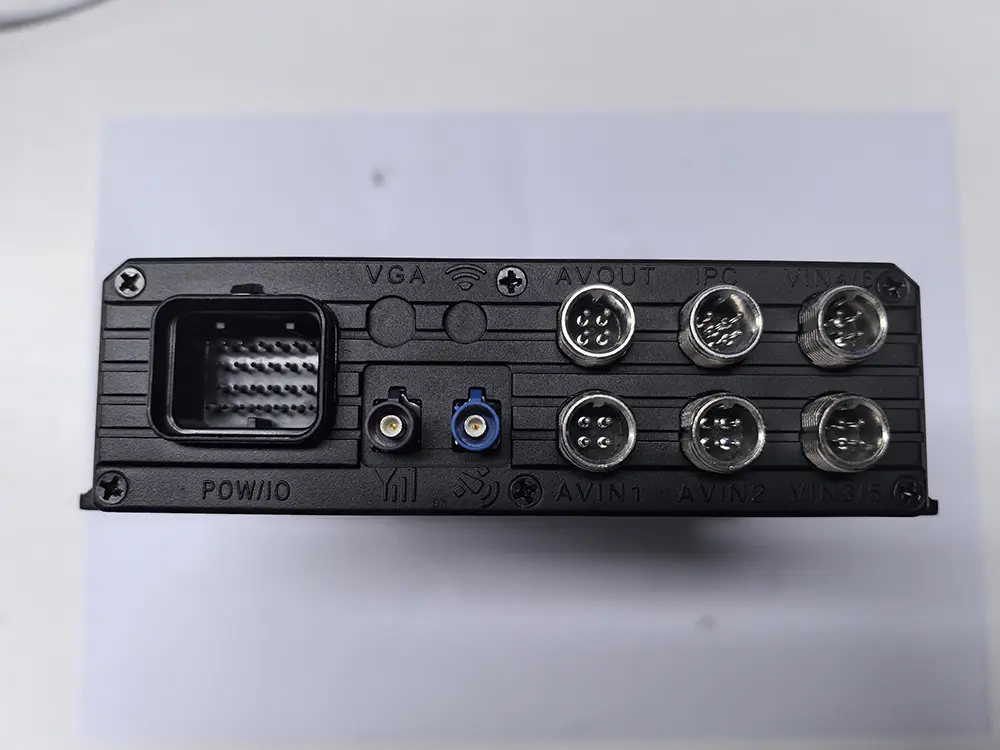
- Main Unit V8N Mini Dash Cam (with built-in ADAS/DMS algorithms)
- SOS Button
- GPS Antenna
- Power Cable
Main Unit (Dual-channel front and interior camera integration):
The V8N dash cam uses deep learning technology and intelligent algorithms to support ADAS, DMS, LCA, and other functions, effectively enhancing driving safety and efficiency.
Accessory Functions
- GPS Antenna:
The GPS antenna receives satellite signals, providing real-time vehicle location and tracking. It is ideal for industries like logistics and ride-hailing, improving vehicle management and transportation efficiency. The V8N dash cam already integrates GPS positioning.
- SOS Button:
In an emergency, the SOS button sends a distress signal to rescue centers, ensuring the driver's safety. This feature is especially useful for long-haul trucks and vehicles driving in remote areas.
- Rear Camera:
The rear camera records the rear view of the vehicle, providing real-time vision when reversing or parking, helping to avoid collisions. It is an essential safety feature for large trucks, buses, and coaches.
- Optional Interior and Exterior Cameras:
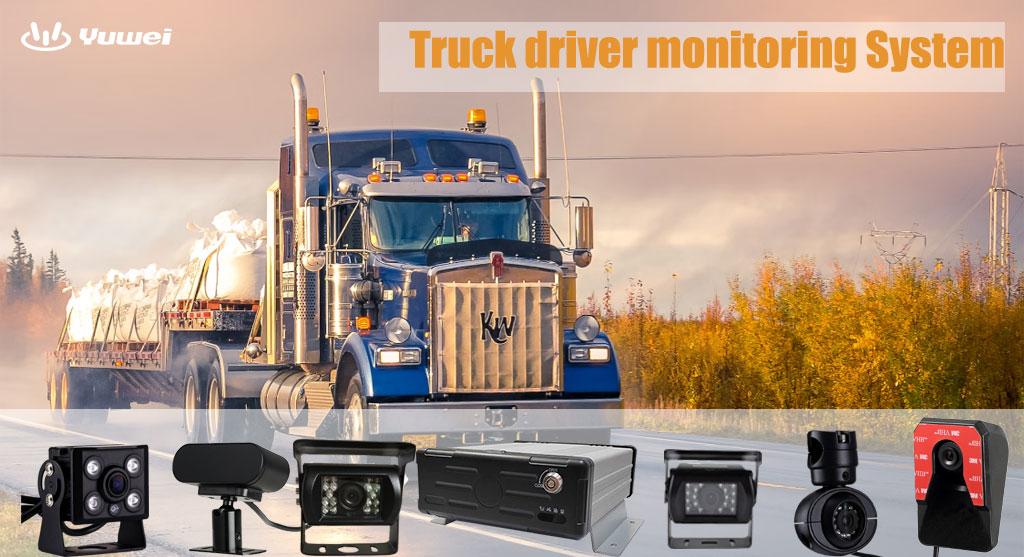
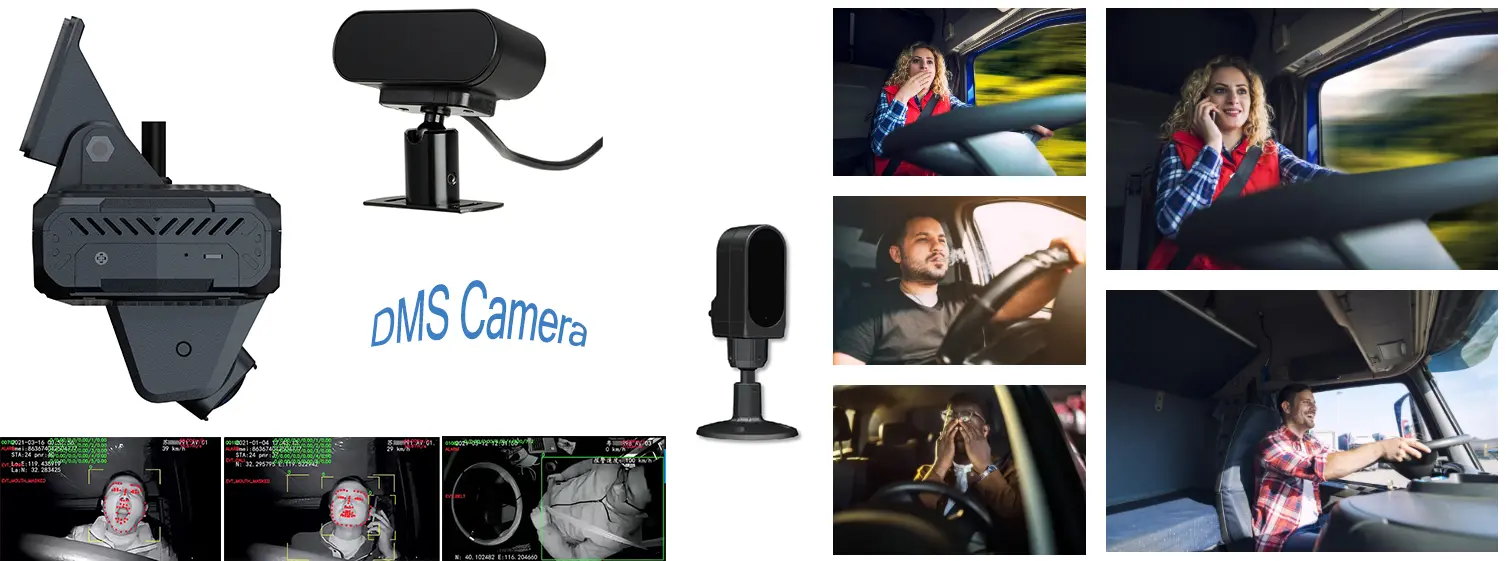
The V8N dash cam offers optional interior cameras for monitoring driver and passenger behavior, as well as exterior cameras that provide comprehensive multi-angle monitoring, ensuring full coverage without blind spots.
Key Benefits
1. Enhanced Driving Safety
- Comprehensive Monitoring:
Multi-channel cameras cover the vehicle's front, rear, and sides, reducing blind spots and helping new drivers better understand the road conditions, improving safety.
- Real-Time Alerts:
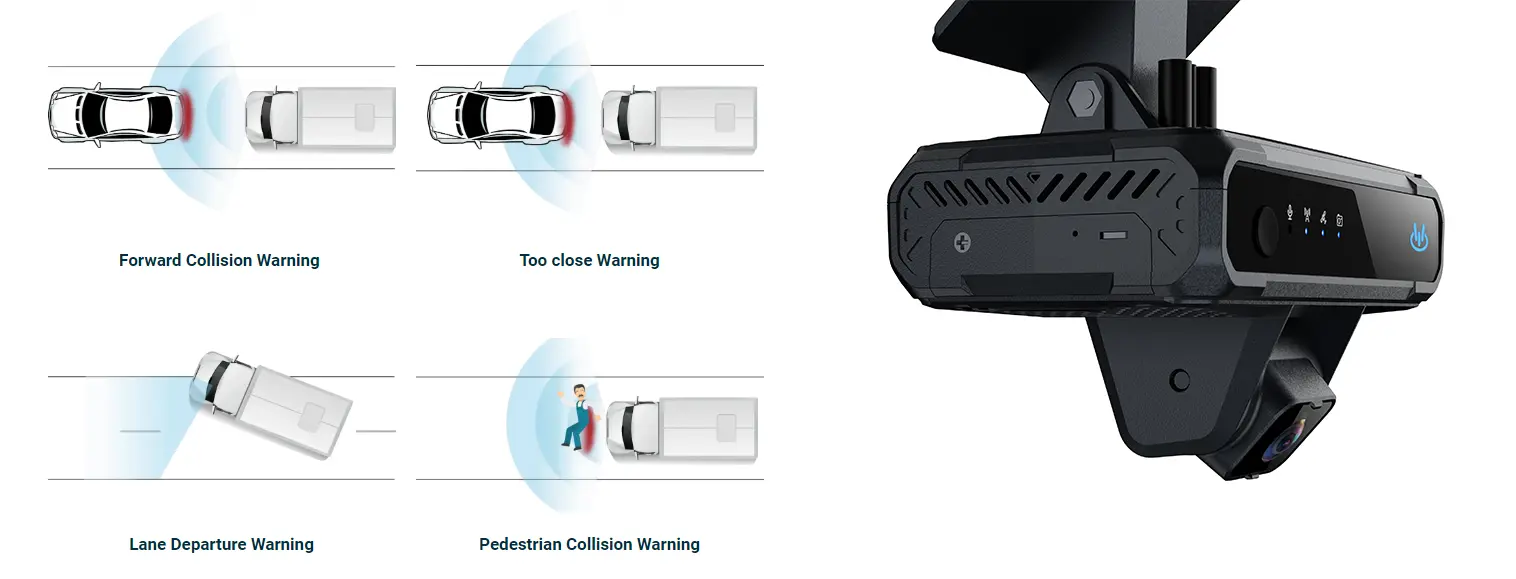
The V8N dash cam is equipped with ADAS (Advanced Driver Assistance System), providing lane departure warnings, forward collision warnings, and more, further ensuring driving safety.
2. Expanded Monitoring Range
- Interior Monitoring:
The optional interior camera monitors driver and passenger behavior, as well as interior sounds, helping to prevent theft, protect privacy, and supervise driver behavior.
- Special Environment Monitoring:
For vehicles that are parked for extended periods or in complex environments, multi-channel cameras provide comprehensive monitoring to reduce the risk of theft or damage.
3. Improved Evidence Collection
- Multi-Angle Recording:
Multi-channel dash cams record footage from multiple directions, providing comprehensive evidence in the event of traffic accidents or disputes, assisting in determining liability.
- High-Definition Video Quality:
While single-lens dash cams can offer HD quality, multi-channel dash cams are designed to ensure consistent and high video quality across all cameras, providing clearer video evidence.
The V8N multi-channel dash cam, with its comprehensive features, offers significant advantages in enhancing driving safety, expanding monitoring coverage, and improving evidence collection efficiency. It is an ideal choice for ride-sharing cars, taxis, and logistics fleets, effectively reducing safety risks and offering convenient vehicle management.
In the future, the V8N multi-channel mini dash cam is set to become a key product in the automotive safety equipment market, safeguarding the safety of drivers and passengers.
Email:hello@yuweitek.com


