HD 720P car camera

A720PS-F217-812
Yuwei HD 720P car camera gives you a clear video recording experience, is resistant to high temperatures, and is suitable for installation and use in car environments.

Product Features

Specification parameters

Product Features
HD 720P car camera
1/2.9" CMOS image sensor with 1-megapixel resolution

AHD high-definition video output, clear image quality

High sensitivity

Adaptive 2D/3D digital noise reduction

Automatic exposure control (AE)

Automatic white balance (AWB)

Supports wide voltage power supply of DC 9-16V

Aviation connector

Plastic ABS casing

Infrared fill light

Adjustable and lockable lens tilt angle

High temperature resistance, suitable for installation in automotive environments

Strong 3M adhesive for easy installation.

Specification parameters

Standard configuration:

serial number

name

quantity

unit

1

Camera

1

indivual

2

3 M glue

1

indivual

Specifications:

model

parameter

A720PS-F217-812

Image Sensor

1/ 2.9 "CMOS

focal length

1.7mm

horizontal field of view

1 20°

depth of field

200cm~∞

Effective Pixels

1280(H)x720(V) 1 million

video output

AHD 720p

Frame rate

25fps

System format

PAL (color)

Minimum illumination

0.1Lux/F1.2

wide dynamic range

T BD

signal-to-noise ratio

T BD

Infrared effective distance

2 meters

I R-CUT

have

audio

M IC recording

Operating temperature

- 20 ℃~70℃

storage temperature

- 30 ℃~ 80 ℃

Working humidity

relative humidity below 90 %

power-current

DC12V(±20%), 140mA

cable length

3-meter extension cable, BMW head turns into aviation head


Frequently Asked Questions

How to install HD 720P car camera?

During the installation process, please follow the steps below to adjust the angle and prevent damage to the camera:

Step 1: Connect the camera to the terminal to ensure that the camera device is capturing properly.

Step 2: Place the camera on the windshield to be installed and adjust the tilt angle of the camera to confirm a proper shooting perspective.

Step 3: Take note of the position on the windshield and the calibration of the camera.

Step 4: While maintaining the desired angle, securely fasten the locking clip for the fixed viewing angle.

Step 5: Remove the protective film from the double-sided tape and mount the camera onto the previously recorded position on the windshield. (Refer to the following 3M double-sided adhesive application guide)

Step 6: If there is any deviation in the vertical angle of the camera after installation, repeat steps 2, 3, and 4 to fine-tune the tilt angle of the camera.

3M Double-sided Tape Application Guide

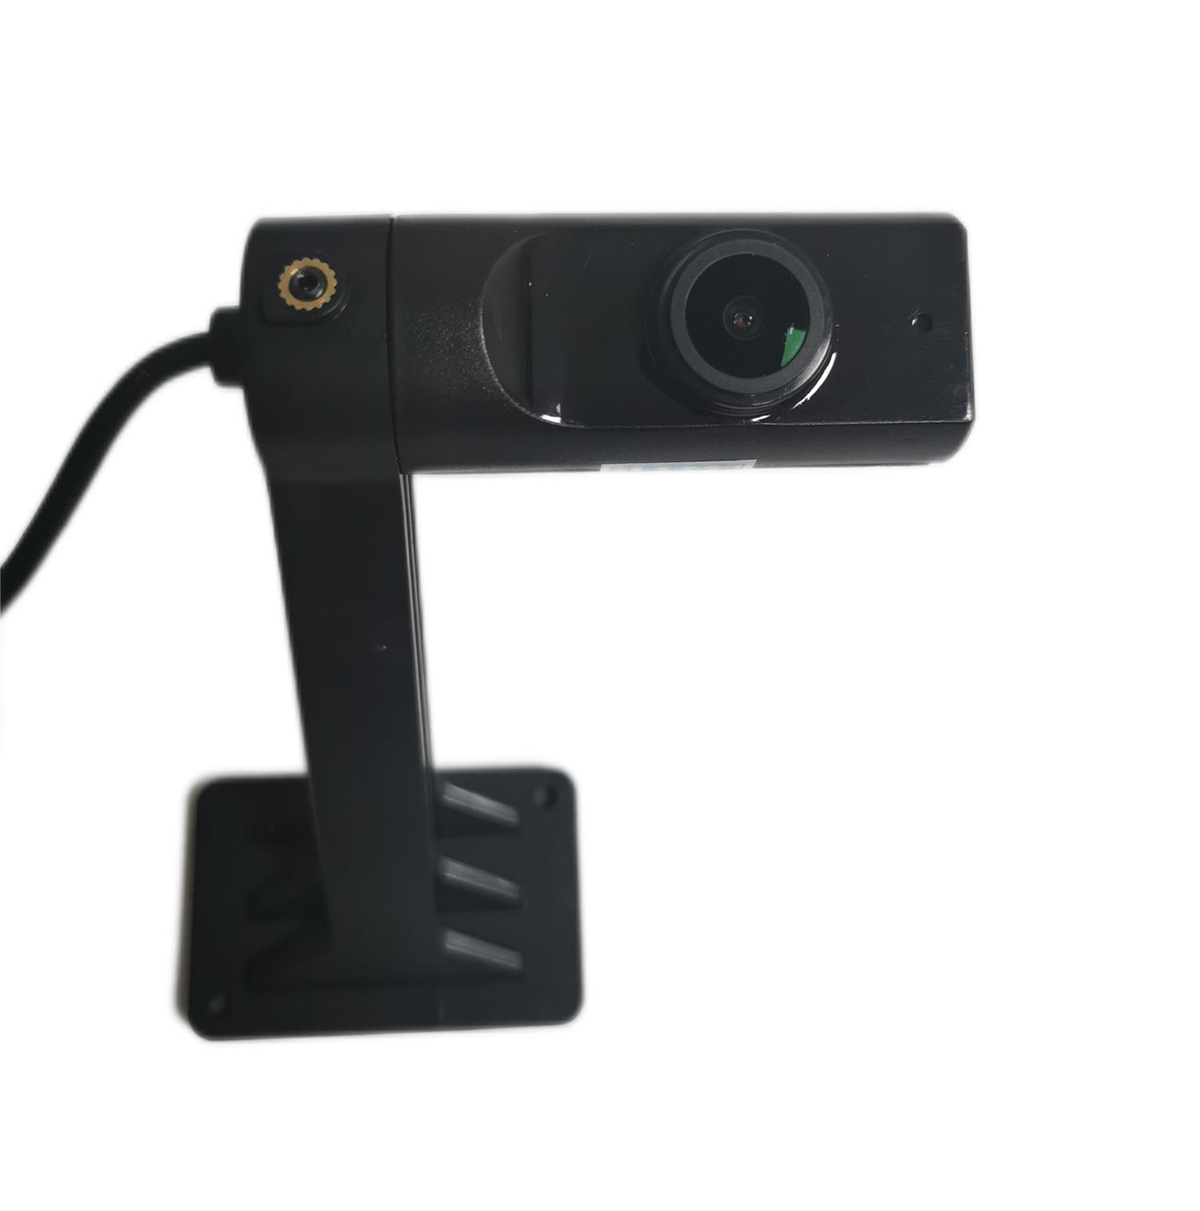
3M Double-sided Tape Application Guide:

1. Installation Steps:

(1) Temperature Control:

If the ambient temperature is below 10℃, turn on the vehicle's heating system or use a car power supply's hot air blower to heat up the windshield and the 3M double-sided tape. The recommended temperature range for applying the tape is 20-40℃. If there is no air conditioning available, use the hot air blower to slowly heat the windshield and the 3M tape.


(2) Clean and Dry the Glass:

Clean the glass surface where the camera will be installed, removing any grease, dust, or other contaminants. For heavily soiled surfaces, use a 50:50 mixture of isopropyl alcohol and water for cleaning. Ensure that the surface is dry after cleaning. It is not recommended to install the camera on rainy days or in conditions where condensation is likely to form due to low temperatures. If installation is necessary, the glass must be dried before mounting the bracket. Use a dry cloth or heat to remove moisture. The cleaning cloth and wiping paper used should be replaced regularly to avoid secondary contamination of the surface.


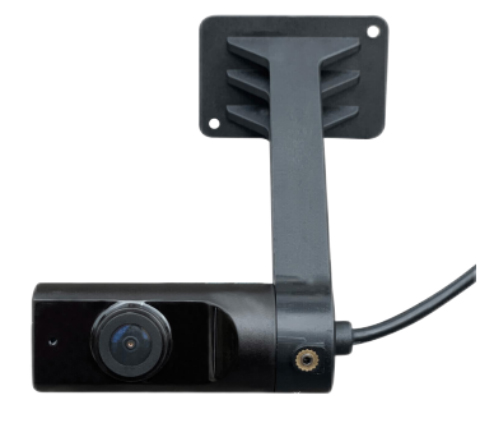
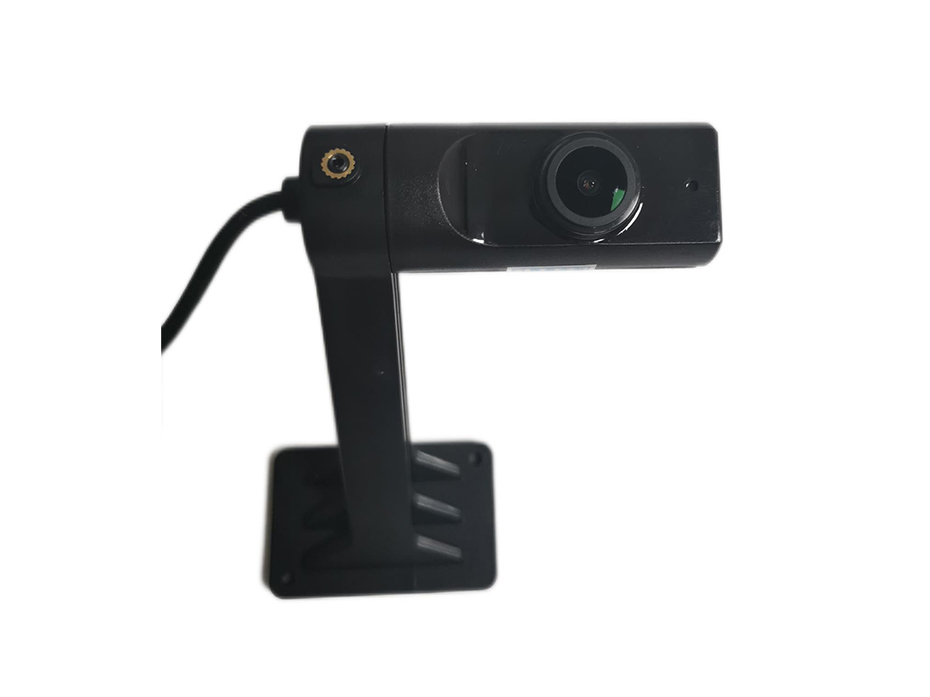
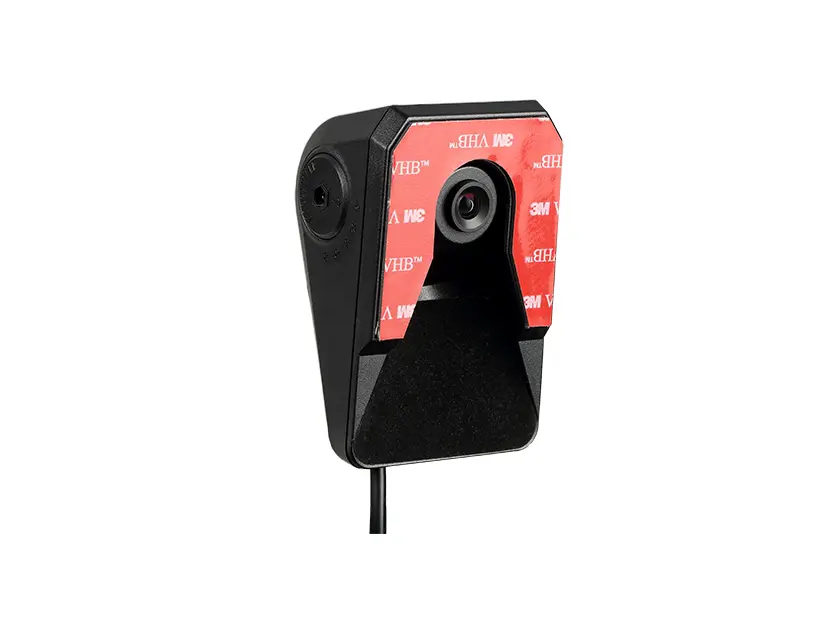
(3) Camera Installation:

Peel off the protective film with the "3M" mark on the camera and firmly stick it to the glass surface, applying pressure to ensure proper adhesion. During the application process, press down on each corner of the camera with your fingers to ensure a secure attachment. Try to minimize air bubbles between the 3M tape and the glass surface (inspect the back of the tape for bubbles). If there are too many bubbles, it is recommended to replace the tape and reinstall. After the camera is applied at room temperature, it takes approximately 30 minutes to reach 50% of its maximum bond strength, and 72 hours to reach its final strength. This time may be longer in lower temperatures. To ensure a secure bond, avoid manually checking the adhesion of the camera immediately after installation.


2. Precautions:

(1) Pay attention to thoroughly cleaning the glass surface from contaminants.


(2) Avoid installation in cold and humid weather, as excessive condensation can affect the adhesion. If installation is necessary, ensure that the glass surface where the camera will be attached is dry.


(3) Use the 3M tape only once and do not reuse it for a second application.


(4) Securely fasten the cables after installation, avoiding any hanging or tension on the camera caused by the cables.

Product recommendations

×
dash cam
Menu
MESSAGE
*
*
*